Portrait
Keep eyes and mouth close to the center.
Browser-local lens desk
The sample is already loaded. Move the optical center, tune the bend, and replace it with your own image when the look feels right.
Local lens desk
The image stays in this browser tab. Strength controls the barrel distortion; center X and Y move the optical emphasis.
Choose a photo or load the built-in portrait.
Center first. Strength second. Vignette last.
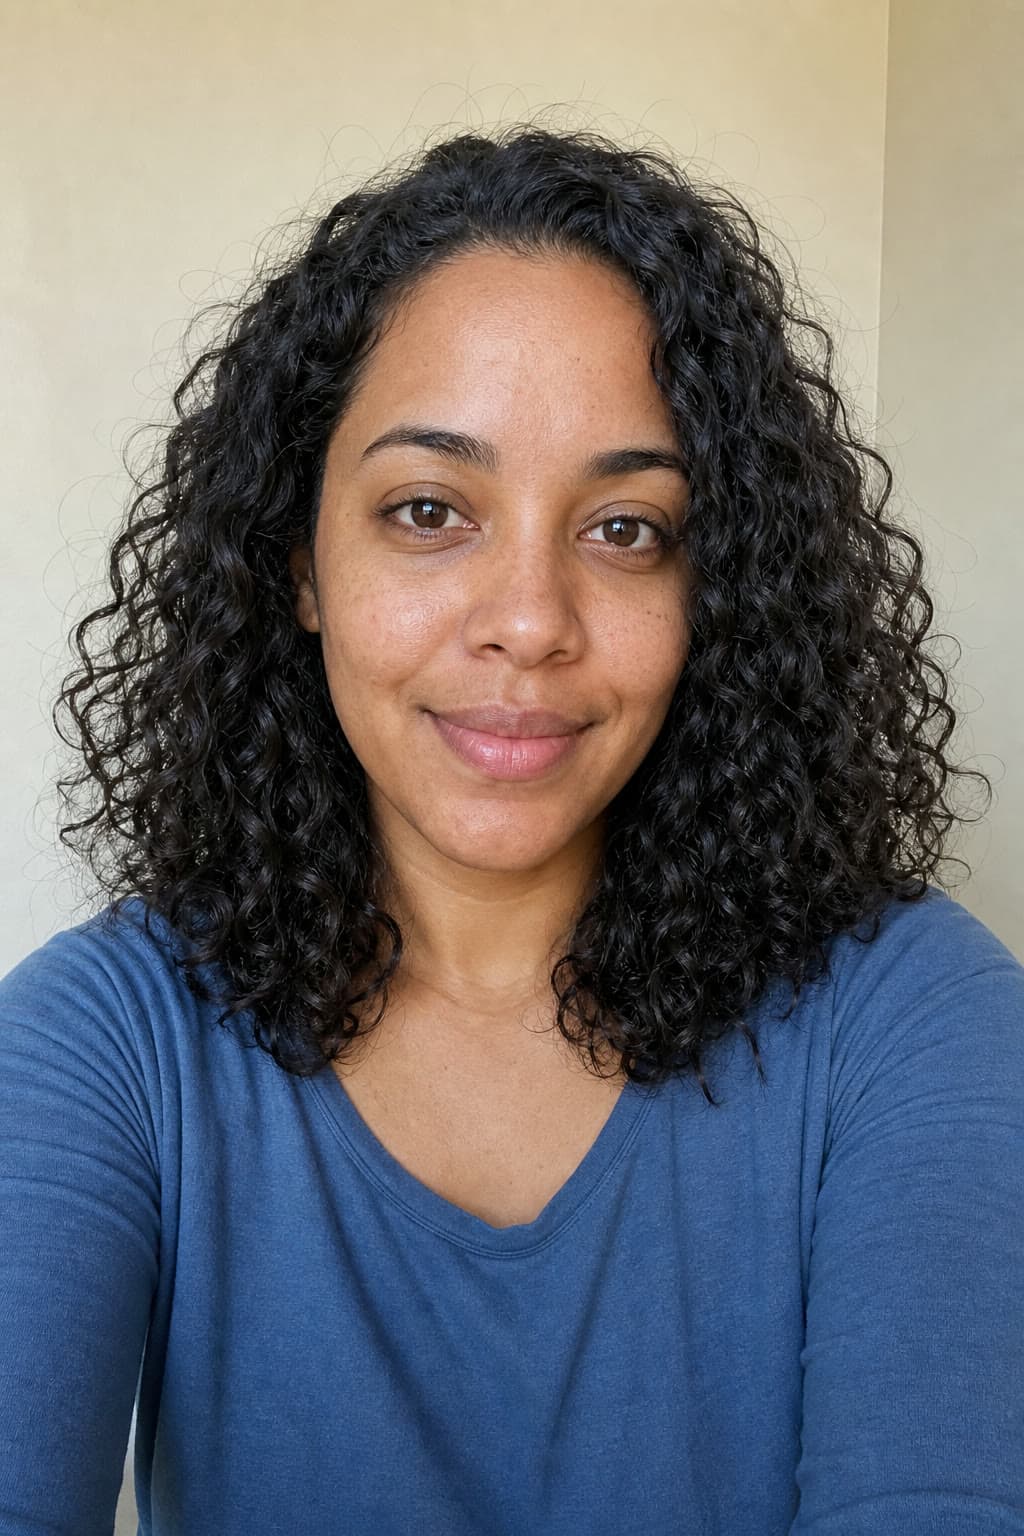
Keep eyes and mouth close to the center.
Move the center toward the nearest object.
Use rails and tiles to judge the curve.
The distortion is the same in every case; what changes is how much of it the frame can carry. These are the jobs where a fisheye lens effect online replaces a lens you do not own.
The look the genre is built on. Push distortion hard and keep the subject dead centre, where a fisheye lens effect online keeps them undistorted.
Bulging architecture reads as deliberate at print size. Move the optical centre off-axis for a less obvious result.
A mild setting widens a room without the walls obviously curving. Stop before the door frames start bending.
Crowds curve well because nobody knows what shape the room was. Faces at the frame edge are the part to watch.
Only at low strength. A fisheye lens effect online applied hard to a product misrepresents its proportions.
Distortion plus a centred face reads at small sizes. Check the crop before you commit — edges lose the most.
Same portrait · three strengths
The center remains fixed between the eyes. Compare face scale, hair boundary, shoulders, and background lines as strength increases.

A gentle center emphasis that keeps facial proportions close to the source.

The default creative setting: center grows, edges recede, and the effect reads immediately.

A deliberate comic look that needs extra edge room and careful subject placement.
The subject tells you where the curve belongs. Strength only decides how loudly that spatial idea is expressed.
Between the eyes
Even light, simple background, space around the head. Raise strength slowly and stop before the expression turns harsh. Close-up pet shots take more nose exaggeration if both eyes stay visible.
Front truck or leading shoe
Centre slightly below the rider so the board feels close while pavement arcs outward. Leave travel space ahead. Crowds follow the same rule — protect faces near the border.
Vanishing point or symmetry axis
Align the crosshair with the destination and let tiles or rails reveal the curve. Moderate strength adds depth; extreme strength destroys the scale cues a viewer needs.
Logo-free hero surface
Push the nearest feature forward while keeping geometry and required lettering readable. The distortion is styling, never evidence of a product's real proportions or a cabin's true space.
Place the optical center on the part that should feel closest. Check the subject before touching strength.
Increase distortion until the environmental lines support the idea without hiding or clipping essential content.
Inspect faces, logos, borders, and straight lines near all four sides. Give critical details more breathing room.
Compare at final posting size, choose the format, keep the original, and label the downloaded file as an edited version.
Fisheye lens effect FAQ
This browser tool bends an existing crop for style. It does not widen the captured field of view, calibrate a lens, or recover missing scene content.
No. The current tool reads the selected image in this browser tab, maps its pixels on a local canvas, previews the distortion, and creates the download locally. The image only leaves the device if you later upload or share the exported file somewhere else. That also means processing speed depends on your own machine rather than a queue, and very large source files can take a moment on older hardware. Nothing is stored between sessions, so reloading the page clears the current image and settings — export before you close the tab if you want to keep a result.
No. A real fisheye lens records a wider field of view at capture time. This online effect bends pixels that already exist inside the crop; it cannot recover people, architecture, or background outside the original frame. Treat it as a creative distortion, not a wider photograph. The practical consequence is that heavy strength actually shows you less usable detail, not more: pushing the centre forward stretches edge pixels across more screen area, so the periphery gets softer the harder you push. If you need genuine width, that decision had to happen at the camera.
Start near the middle, place the optical centre on the important subject, and increase strength until the curve is obvious without destroying the message. Portraits usually need restraint; skate, music, product, and architecture images can support more exaggeration when edge stretching is intentional. A useful check is to stop increasing the moment you notice yourself compensating — recropping, moving the centre, or telling yourself a stretched face reads fine. That is the point where the effect started driving the image instead of serving it. Step back one notch from there and the result usually holds up better a day later.
The mapping changes scale as pixels move away from the optical centre. Keep eyes and mouth close to the crosshair, reduce strength, or recrop with more space around the head. Edge distortion is part of the effect, but it should support the composition rather than accidentally deform a person. This matters more than it sounds for group photos: whoever stands at the frame edge takes the worst of the stretch, and the result can read as unflattering in a way that feels personal rather than stylistic. Either centre the group tightly or keep strength low enough that nobody is singled out.
It changes which part of the image feels closest and least displaced. Move the centre toward a skateboard, shoe, product, face, doorway, or other focal object. Watch straight environmental lines while adjusting; the curve should lead attention toward the subject rather than pull it out of frame. The centre is the single most useful control here and the one people skip — most disappointing results come from leaving it dead centre on an image whose subject is not centred. Set it first, then treat strength as a volume knob on a decision you have already made.
Use a small vignette after strength and centre are settled. Darker edges can reinforce the lens feeling and hold attention, but heavy vignette hides information and can make a bright image feel muddy. Compare the preview at final posting size before deciding. The order matters: vignette applied early will fool you into accepting too much distortion, because darkened corners disguise exactly the edge stretching you should be evaluating. Judge the curve on a clean frame, then add the vignette as a finishing pass — and expect to want less of it than you did the first time.
No. Creative barrel distortion intentionally bends the picture. Accurate correction uses a known camera body, lens profile, focal length, and calibration data to remove distortion. Do not use this effect for surveying, architectural measurement, scientific imaging, or any task that requires geometric accuracy. The two are not even inverse operations: applying this effect and then running a correction profile will not return the original image, because the creative mapping is not the measured distortion curve of any real lens. Keep the untouched original whenever the source might later need genuine correction.
Images with a strong central subject and visible lines near the edge are easiest to judge. Skate scenes, concerts, car interiors, tunnels, tiled rooms, product close-ups, and playful portraits all show curvature clearly. Leave room around essential faces, logos, and objects before applying strong distortion. Straight lines near the frame edge are what makes the effect legible at all — an image of open sky, water, or foliage can take heavy distortion and simply look slightly odd, because there is no reference geometry for the eye to register the curve against.
Inspect faces, logos, borders, straight lines, and the frame edge at full size. Confirm the focal object is not clipped, vignette has not hidden important detail, and the chosen file format suits the destination. Keep the original image because the exported distortion is a new creative version. Check the frame edge specifically for transparent or stretched corners — depending on strength and centre position, the mapping can leave thin empty wedges that look fine in the preview and become obvious against a white background or a printed page.
Optional cookies help us understand usage and measure ads. Essential cookies stay on so Voor works.